Create an Inspection
- Oct 15, 2024
- 2 min read
Updated: Feb 24, 2025
Step-by-step guide for creating a new inspection
Logging into the Authentik8 Management Portal and Navigating to the Inspections Tab
Navigate to the Authentik8 Management Portal.
Enter your login credentials.
Once logged in, click on the "Inspections" tab.

Starting a New Inspection
In the top right corner, click the "New Inspection" button.
1. Setup
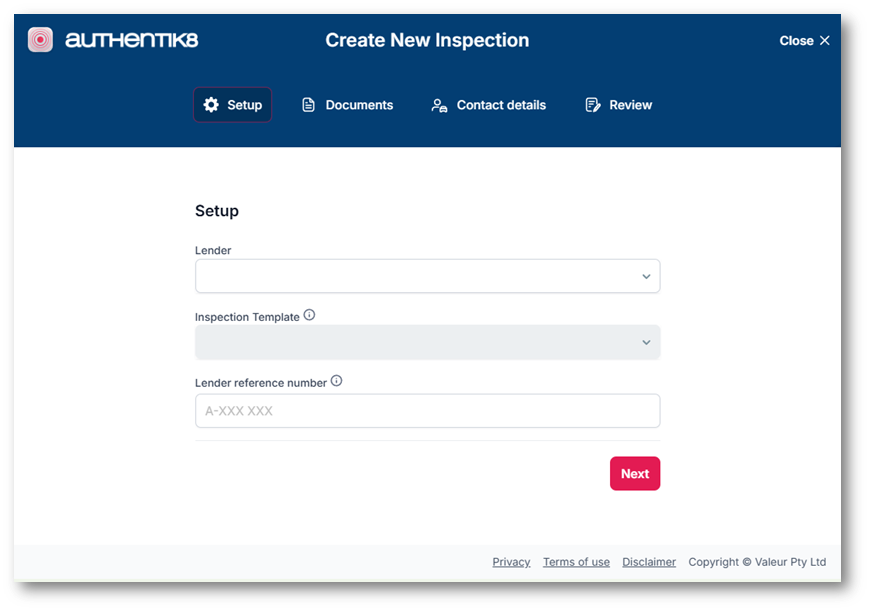
Lender selection Lender Users will not select a Lender when setting up a new inspection. However, Brokers will need to select the Lender they are creating the inspection for. Once a Broker has selected the Lender, the Inspection Template field will become active, allowing them to choose a template specific to the lender.
Choosing an Inspection Template
Select an appropriate inspection template from the list. Note that these templates are managed by the Lender Administrator, so be familiar with the template names configured for the Lender. To assist with the selection, the Inspection Template description will show below the field after selected.

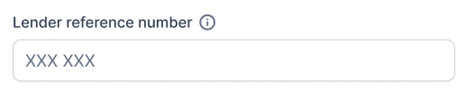
Lender Reference Number
Enter a reference number. Usually, the application or contract number from the lender, used by the lender to link the inspection to the finance agreement.
2. Documents
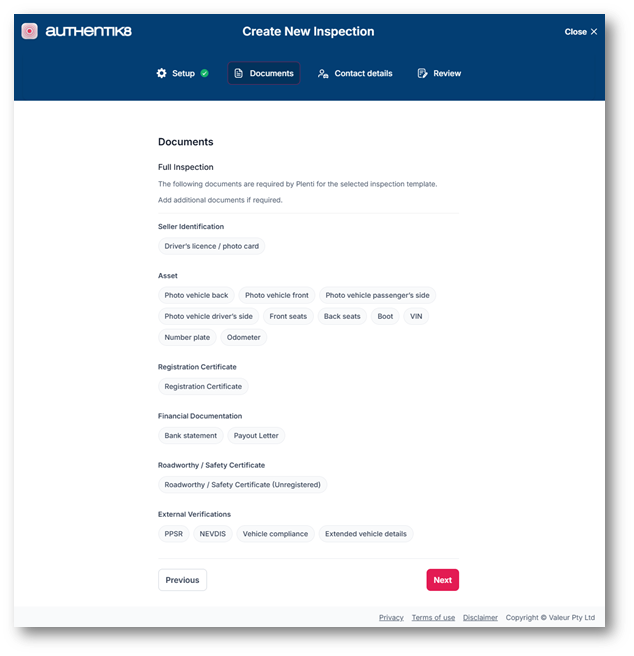
The Documents tab is prefilled based on the Inspection Template selected on the previous screen.
Add additional documents
The broker or lender user will have the option to add additional documents to the inspection

3. Contact Details
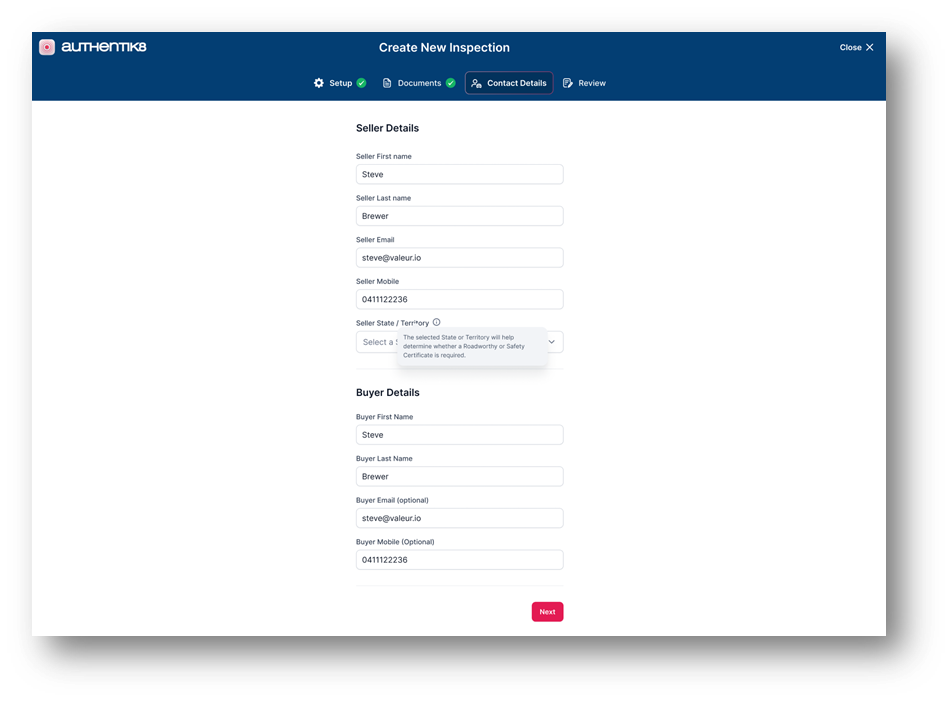
Seller Details - Fill in the seller's first name, last name, email, mobile number and state. The mobile number is used to deliver the Inspection Invitation SMS Message and the email address is used to deliver the Access Code.
Buyer Detail may not be displayed, depending on the configuration of the Inspection Template selected. If shown, Fill in the buyer's first name, last name. Email and mobile number are optional.
4. Review and submit
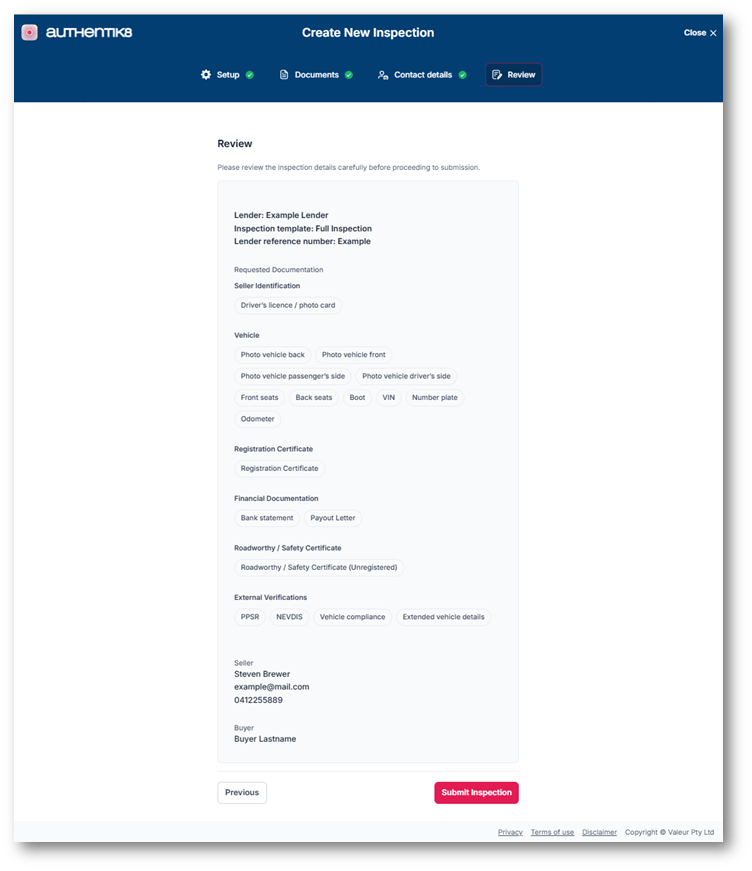
Review the Inspection Review all entered details: seller's details, buyer's details, inspection requirements.
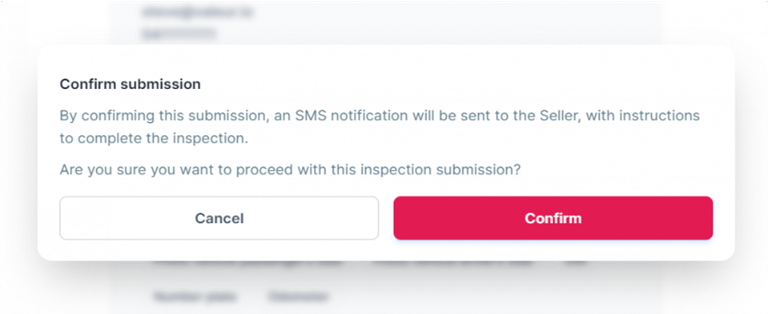
Submit the Inspection
Click Submit Inspection and confirm the submission in the prompted dialog. An SMS notification will be sent to the seller with instructions to complete the inspection.
Tips and Troubleshooting Ensure all mandatory fields are filled in to avoid errors during submission. Be familiar with the names of the inspection templates configured by the administrator to ensure correct selection.